

How To Set Up Time Lapse Camera
Time-lapse photography: How to brand your kickoff time-lapse video
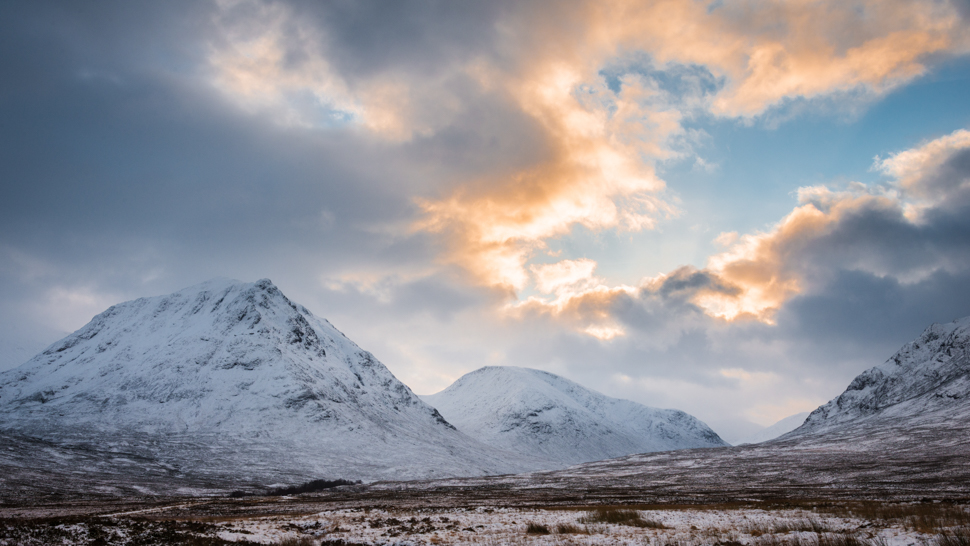
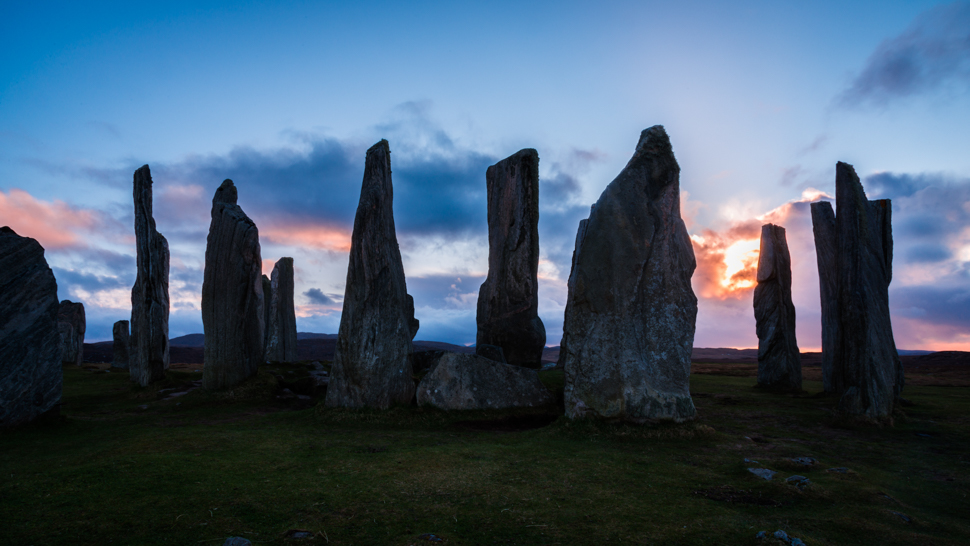
Time-lapse photography is the art of taking single images and combining them to create a video that shows the movement of the surroundings around you.
This could be the motion of clouds, stars or even the hustle and bustle of a decorated city. The results can show how a scene tin change dramatically over fourth dimension, perhaps between unlike types of weather or from one season to the side by side. I find that fourth dimension-lapse photography can tell a different story about the landscapes around us that a single epitome may non be able to tell.
• See besides: Best timelapse cameras
Making videos from stills
To sympathize how time-lapse photography works we need to understand how videos are fabricated.
In the world of movie house and television receiver, when we run into motion, what nosotros're actually seeing is unmarried images shown one afterwards some other at a certain frame rate. Generally, this frame rate is anywhere betwixt 24-thirty frames per second, so if we lookout man ten seconds of footage, what nosotros're actually seeing is 240-300 single images existence shown very quickly to create motion.
Now, if we apply the aforementioned way of thinking to photography, all nosotros have to do is accept a certain number of images, ane after the other, over a menses of fourth dimension. When played at, say, 25 frames per second, we will have but created a time-lapse video.
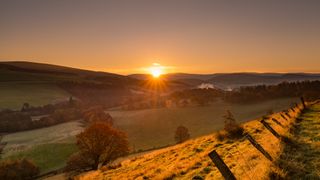
When planning your shoot you demand to consider the movement of the subject earlier anything else.
Are you going to run across much of a difference over time or will everything stay the aforementioned? Planning your shot and picking a subject in a scene that changes over fourth dimension volition make for a more interesting result. This could exist anything like the sunday setting, traffic moving in a city or a change in weather.
Remember that photographic rules still apply to time-lapse photography, and so make sure you don't overlook composition. Consider framing your shot using the rule of thirds and try to expect for interesting leading lines – and ever make sure at that place are no distracting elements in your shot.
Yous need to program your shoot just like you would for any stills photography shoot. One time yous've settled on your location, check the atmospheric condition and make a note of when the sunday sets and rises. I use an iPhone app called Photograph Pills, which shows me the path of the sun and also where the Milky way will be during the nighttime. I will ever know in my head the shot that I'm after before I reach the location, and this enables me to concentrate on the shot instead of running around not knowing what to shoot. When shooting a time-lapse video, the shots tin take a long fourth dimension to brand due to the number of images needed, so planning is crucial if yous're to get your shots you lot need in the limited time y'all may have.
Equipment
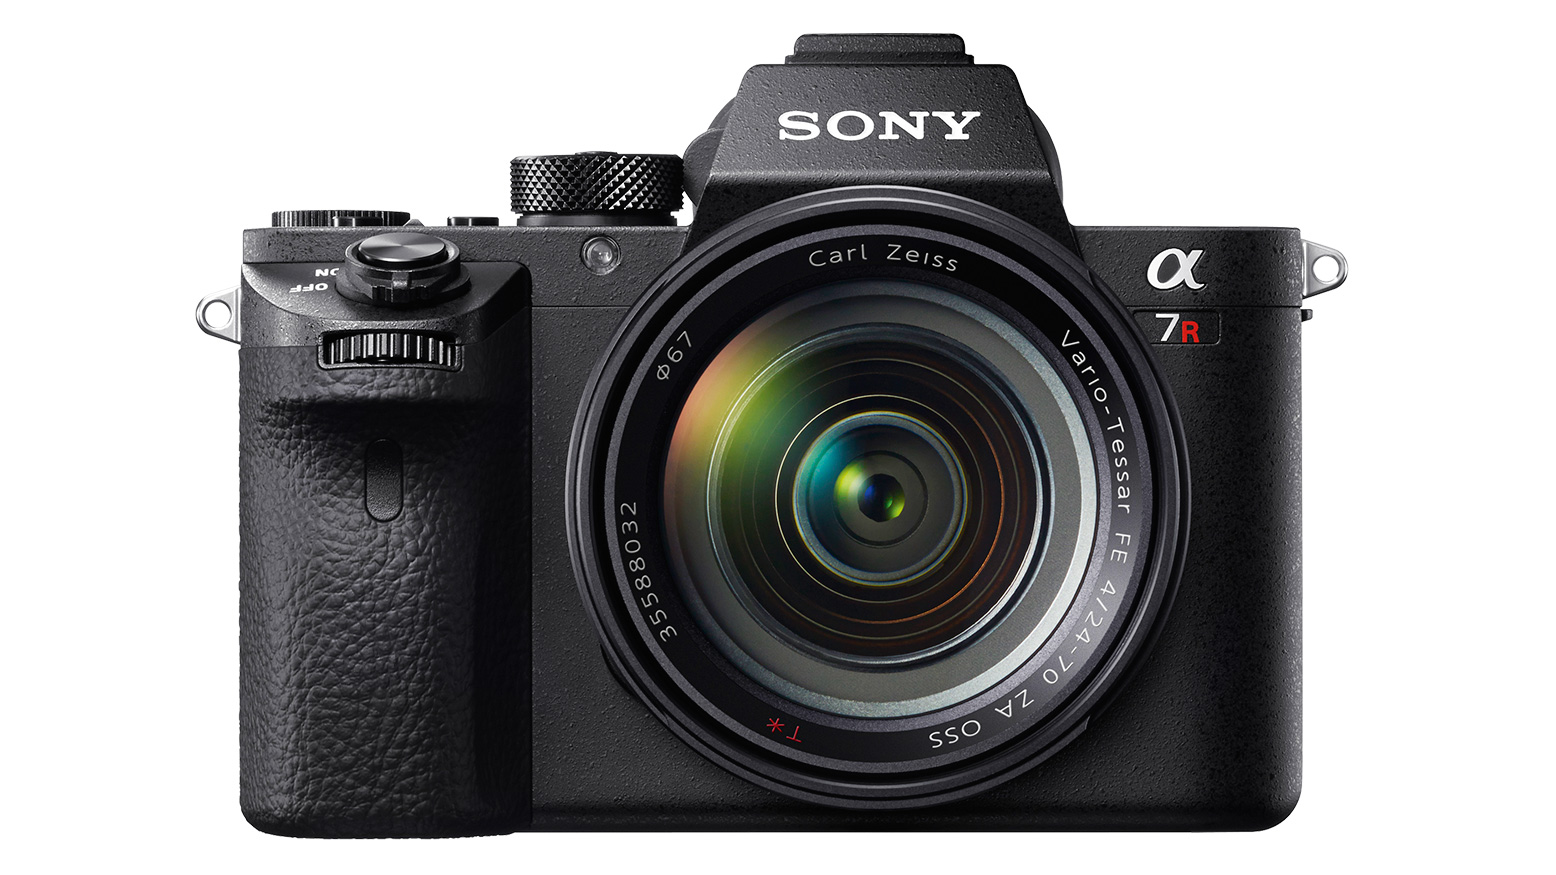
DSLR or CSC photographic camera
Whatever camera will exercise as long every bit it can shoot in Transmission style.
Lens
Any lens will exist fine, simply it really depends on what y'all're shooting. I tend to piece of work with lenses from 14mm to 200mm.
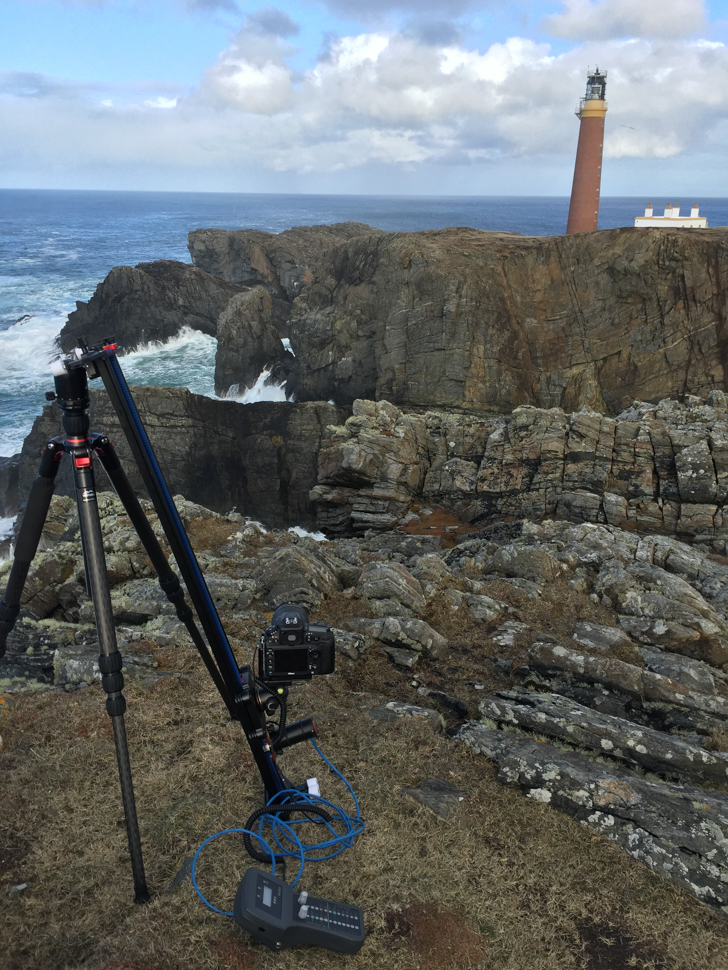
Tripod
What yous desire is a strong tripod that isn't going to accident abroad.
Intervalometer
You need an intervalometer so that your camera can accept shots continuously without yous touching it. Many cameras at present take these built into them.
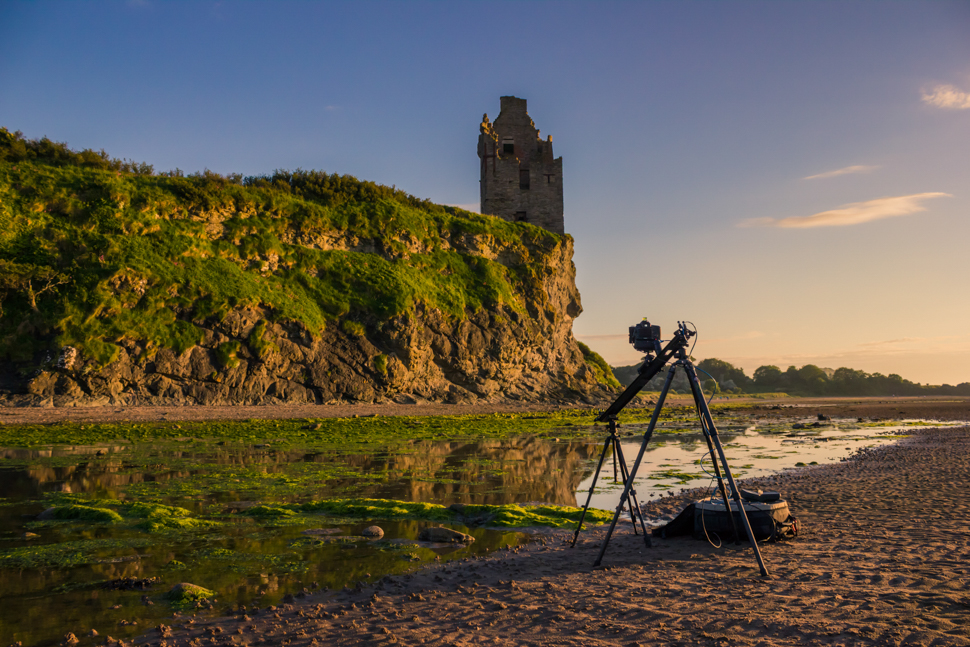
Setting up the shot
When setting upwards your shot there are a number of things to retrieve so that you don't have a ruined shoot.
First, yous need to consider how long you lot want the camera to exist running for. Depending on the frame charge per unit of your final video, e'er retrieve that 24-25 shots equates to a single second of video. And so, if you want a 20-second video, you'll need to have effectually 500 images.
You as well need to remember nigh the interval between each frame, which is the gap between every shot taken. I judge the interval fourth dimension based on how quickly subjects are moving in the scene. If I'm photographing fast-moving clouds, for example, I will ordinarily have an interval of around two-3 seconds. If I'm photographing the night heaven, nonetheless, information technology could exist effectually xxx seconds.
Information technology'south really up to y'all, but through experimentation y'all should be able to understand what works best for a particular scene or bailiwick. I generally have an interval of anywhere between 2-30 seconds depending on what I'thou shooting.
Click beneath to come across how to shoot and edit your fourth dimension-lapse images.
How to shoot a time-lapse video: Step-past-step guide
Here's a footstep-by-step guide of how to shoot fourth dimension-lapse images.
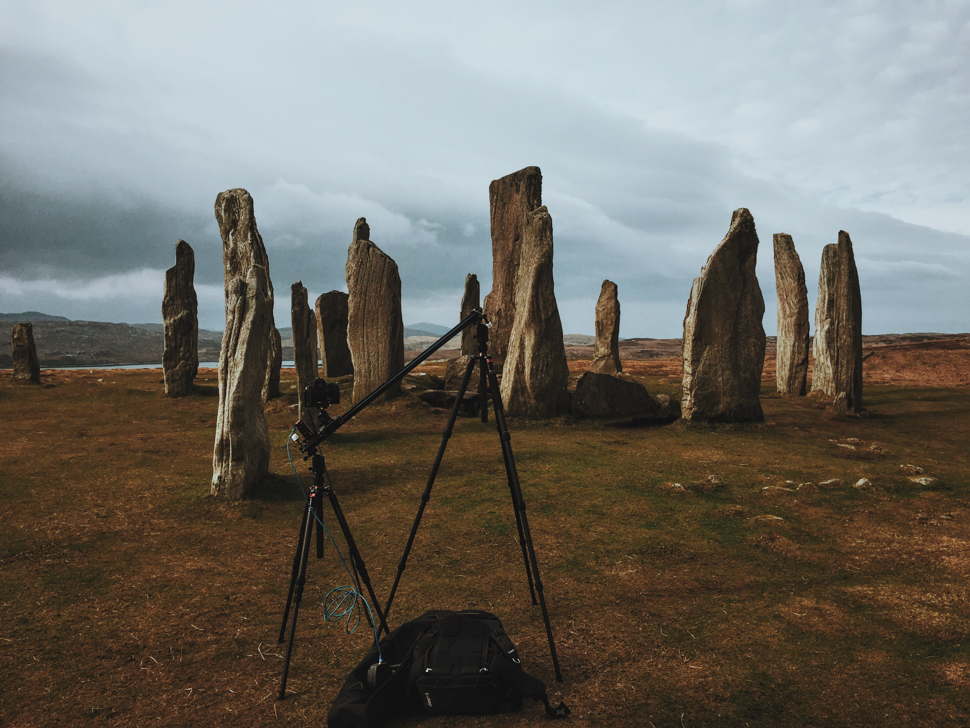
Pace one
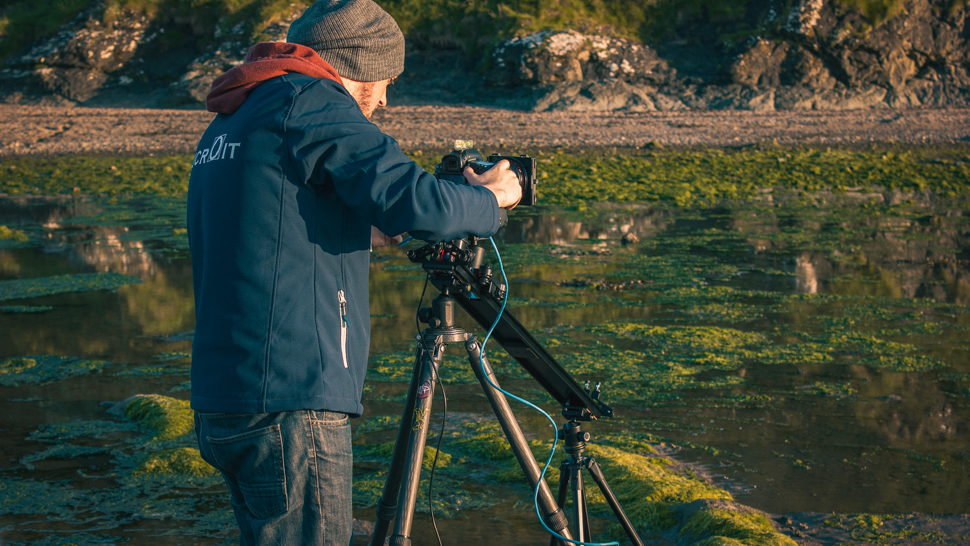
Put your camera on a secure tripod and lock everything down. The camera shouldn't motion at all while it'due south taking images unless you're using a motorized slider.
Step 2
Attach an intervalometer to your camera (some cameras have an intervalometer built into them) and dial in your interval settings. The interval can be any you lot want and should on the scene and what lens you're using. I tend to set it between 1 and five seconds.
Step iii
Put your camera in Manual mode as you don't desire information technology to approximate the exposure for y'all. If you shot in Aperture Priority style at that place's a loftier risk there will be flickering in your video.
Stride iv
Bank check your exposure and make certain there are no blown highlights. Also brand sure to manually focus the lens to make sure the final image will be precipitous.
Step v
If you're using a DSLR, brand sure to cover the viewfinder as stray light leaking through could change the exposure between frames (and would result in flickering).
Stride 6
Take a test shot to come across if you're 100% happy with exposure, composition and focus.
Footstep 7
Recall nearly how many shots you desire to accept. In the U.k. the standard frame rate is 25fps, and then to get x seconds of footage you will need to accept 250 images. I tend to take effectually 400-600 every bit this gives me more room for editing.
Step 8
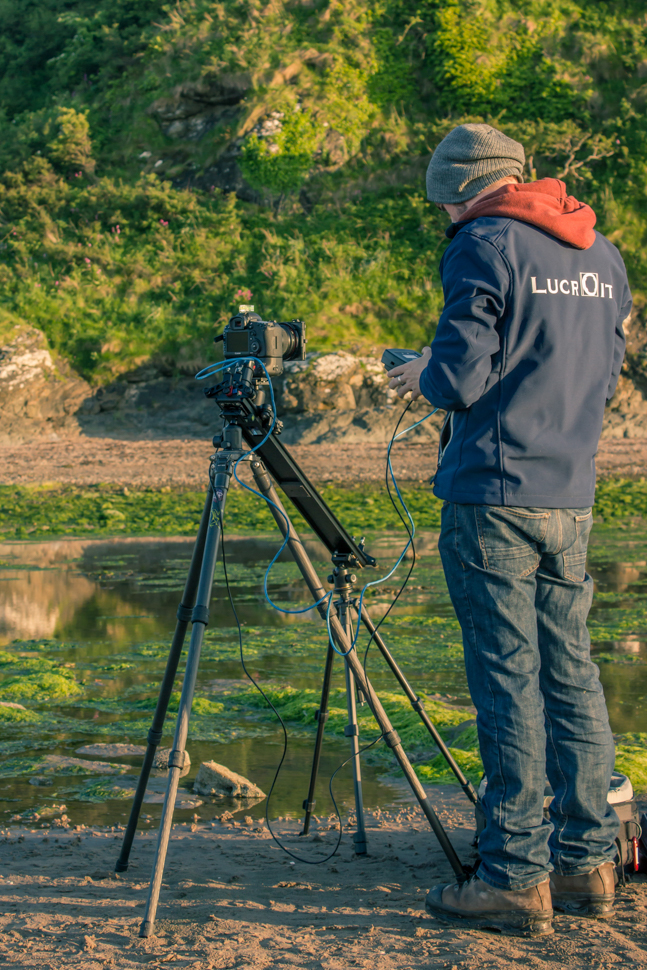
One time y'all're happy, click 'Get-go' on the intervalometer (or the equivalent selection on your camera) and get out it well alone for the duration of the shots.
Top tips
- Shoot in Raw as this volition give you lot an image with a larger dynamic range and more possibilities when editing.
- When setting your photographic camera to the Manual exposure mode, don't forget to manually set your white balance too.
- Your batteries will drain rapidly so always carry spares. I would recommend using a battery grip on your camera; this will enable you to utilize two batteries at the aforementioned fourth dimension.
- Y'all desire the footage to look smooth and a fleck of motion blur works well in time-lapse, and then try to utilize a shutter speed of effectually ane/50sec, equally this is the standard for a cinematic look.
- Clean your camera's sensor before the shoot and clean the lens element right earlier your first frame, but in example there are any rain aerosol on the front element.
- Your memory cards need to be large and fast. Yous're going to be taking a lot of images and your camera'south buffer needs to rapidly procedure them earlier the next shot. I recommend anything above 32GB with a write speed of 50MB/s or more than.
- Make sure to turn off the Car Power Off and Review Image options (or all the same they are titled) in your camera as this volition help save battery life.
Editing your shots
It's possible your camera will stitch your results together for yous. For the benefit of those whose cameras practise not, hither's how to do it on a computer using Lightroom.
Step 1
Import the images into Adobe Lightroom and make certain to divide the fourth dimension-lapse images from anything else you have taken that day.
Step 2
Edit one of the images. I generally pick an image in the middle of the sequence and, one time I've finished editing, I re-create all the settings onto all the other images. Make sure to crop the image at the ratio of 16x9 as this is the standard aspect ratio for most videos.
Step 3
Export the images as JPEGs, at a resolution of Full Hd (this would be a resolution of 1920x1080 pixels).
Step 4
Open Photoshop, Click Window and modify the Workspace to Motion.
Step 5
At present click File > Open. Find the folder in which you lot've put the exported images and select the starting time image. Before you click Open up, click Options and make sure Image Sequence has been checked.
Step 6
Ready your desired frame rate. I normally ready it to 25fps as I'chiliad in the UK.
Stride 7
Your video will appear in the timeline at the bottom of the screen. From here you can play a preview to see how it looks. Be aware it might non play smoothly the first fourth dimension every bit information technology's still rendering the files.
Stride 8
Once happy you tin now export it as a video. Click File > Export > Render Video.
Step 9
Hither, y'all can name your video file and set the video format (H.264 is all-time for full general use). The frame rate and resolution will exist based on how y'all imported it, and then this will non demand to be inverse. Now y'all can click Export.
Alternative technique
If you have Adobe Afterwards Effects, or you merely don't wish to use Lightroom for whatever reason, this is some other great mode to edit a time-lapse images.
Step one
Open up After Effects, select File > Import Files > Multiple Files and select the first unedited Raw epitome, making sure Image Sequence is selected.
Stride 2
Once clicking Open a dialog box will appear and here you can edit the file. This is Adobe's Photographic camera Raw interface, so you can edit the image just like yous would in Lightroom and it will automatically apply the edit to the other shots.
Pace 3
After this, drag the file as a new composition and and so you can return the resulting file into a video, just similar nosotros did in Photoshop.
Determination
Time-lapse photography can be very addictive, and being able to create motion with your still images just adds some other dimension to your photographic skills.
At kickoff, it will take a while to think everything you demand to brand the shots piece of work, but with time and do you'll be able to think quickly about setting up your shots. By following the communication I've given your chances of achieving the desired shot should exist even higher.
Read more: How to create a cinemagraph
Related articles

How To Set Up Time Lapse Camera,
Source: https://www.digitalcameraworld.com/tutorials/time-lapse-photography-how-to-make-your-first-time-lapse-video
Posted by: deciccobeirl1940.blogspot.com
0 Response to "How To Set Up Time Lapse Camera"
Post a Comment